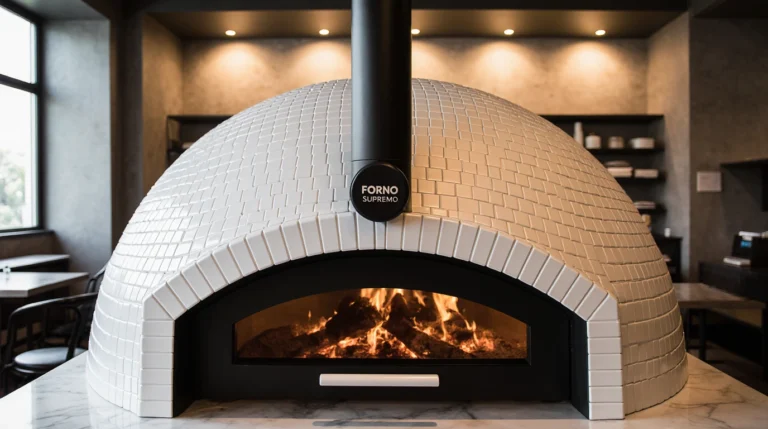
Cleaning a wood-fired or gas oven isn’t a war against dirt; it’s the maintenance of a precision instrument that uses fire. Done properly, the oven cooks better, lasts longer, and smells like glory instead of something vaguely suspicious.
First, basic safety: the oven must be completely cold. Fire has a memory and does not forgive haste.
For wood-fired ovens, start by removing ashes and leftover embers with a metal shovel or a sturdy brush. Do this dry. Water mixed with ash creates an alkaline paste that is unfriendly to refractory materials. Once loose debris is gone, use a stiff brush or small broom inside to remove light soot. If black stains remain, don’t panic—they’re normal and don’t affect cooking.
For an occasional deeper clean, light the oven and bring it to high temperature for 30–45 minutes. This burns off organic residue. It’s old-school pyrolysis—no buttons, no marketing.
With gas ovens, the approach is more surgical. Remove the racks and wash them with warm water, mild soap, and a non-abrasive sponge. Clean the interior with a damp cloth and, if needed, a gentle mix of warm water and vinegar. Avoid harsh chemical cleaners—the oven cooks food, not car parts.
Periodically check the burners and gas ports. If they’re clogged, clean them with a small brush or compressed air. Gas needs to breathe.
For both types of ovens, avoid using excessive water inside the main chamber. Prolonged moisture damages brick, metal, and insulation. Clean does not mean soaked.
On the exterior, a damp cloth followed by immediate drying is enough. If it’s stainless steel, wipe with the grain—the steel has its pride.
Final rule: clean lightly and often, not heavily and late. A well-cared-for oven responds better to fire and ages with dignity—like everything worth keeping.

Cleaning a wood-fired or gas oven isn’t complicated, but it does have clear rules. If you follow them, the oven lasts longer, cooks better, and doesn’t smell like the past.
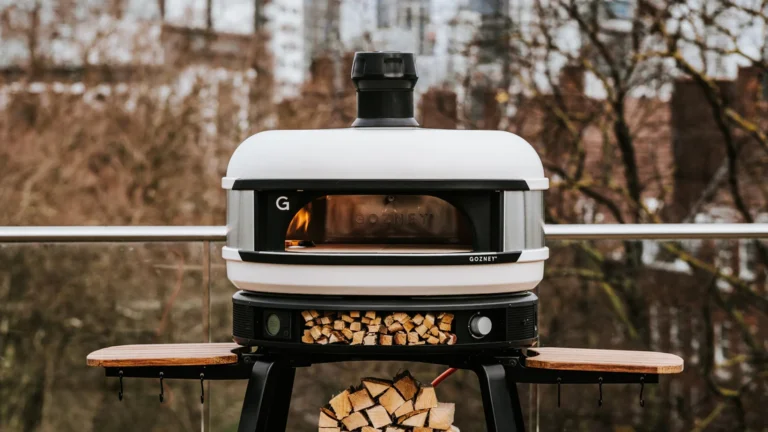
Wood-Fired Oven Cleaning
1. Wait until it’s completely cold
Never clean with residual heat. Patience first, shine later.
2. Remove ashes and debris
Use a metal shovel or a sturdy brush. Ashes should go into a metal container. Even when they look dead, they sometimes still have ideas.
3. Sweep the interior
A stiff-bristle brush (not plastic) is ideal for the floor and walls. The goal is to remove loose soot, not to turn it into an operating room.
4. Occasional deep cleaning
If there is soot buildup:
– Use a slightly damp brush, or
– A cloth with warm water
No strong detergents or chemicals. The oven absorbs smells and flavors.
5. Exterior
Wipe with a damp cloth and, if it’s steel or iron, dry it thoroughly. Moisture is a silent enemy.
Recommended frequency:
– Ash removal: after every use
– General cleaning: every 3–5 heavy uses
Gas Oven Cleaning
1. Turn off the gas
Always. No exceptions. Safety first.
2. Racks and trays
Remove them and wash with warm water, mild soap, and a non-abrasive sponge. Let them dry completely.
3. Oven interior
Use a damp cloth with mild soap.
Avoid abrasive products or sprays inside the oven; they can damage surfaces and affect food flavor.
4. Burners
If there’s grease or residue, clean gently with a dry or slightly damp brush. Make sure they are completely dry before using the oven again.
5. Exterior
Damp cloth and immediate drying. If it’s stainless steel, wipe with the grain.
Recommended frequency:
– Light cleaning: every 2–3 uses
– Deeper cleaning: once a month
Golden Rules (for both)
– Do not use harsh chemicals
– Do not clean while the oven is hot
– Less is more: an oven doesn’t need to smell like detergent
– A clean oven cooks better and lasts longer
A good oven is like a good tool: take care of it, and it responds. And when it responds well, you can taste it in the food.